Night Photography

Taking photographs at night just after the sun has gone down and the stars have started to come out, is a great time to learn and practice both Nightscape and Long-Exposure Photography

As you still have enough natural light to see what you are doing and set up your camera before it gets too dark, and you can practice taking photos above 30sec without the use of an ND filter

Night Photography
Taking photos at night

One thing I learned whilst trying out night photography, and that’s don’t forget your torch as the light just goes so quickly, I was lucky as the D7000 comes with a backlight option. Without this option I wouldn’t of had a clue what my camera was set to on the display lol!!!

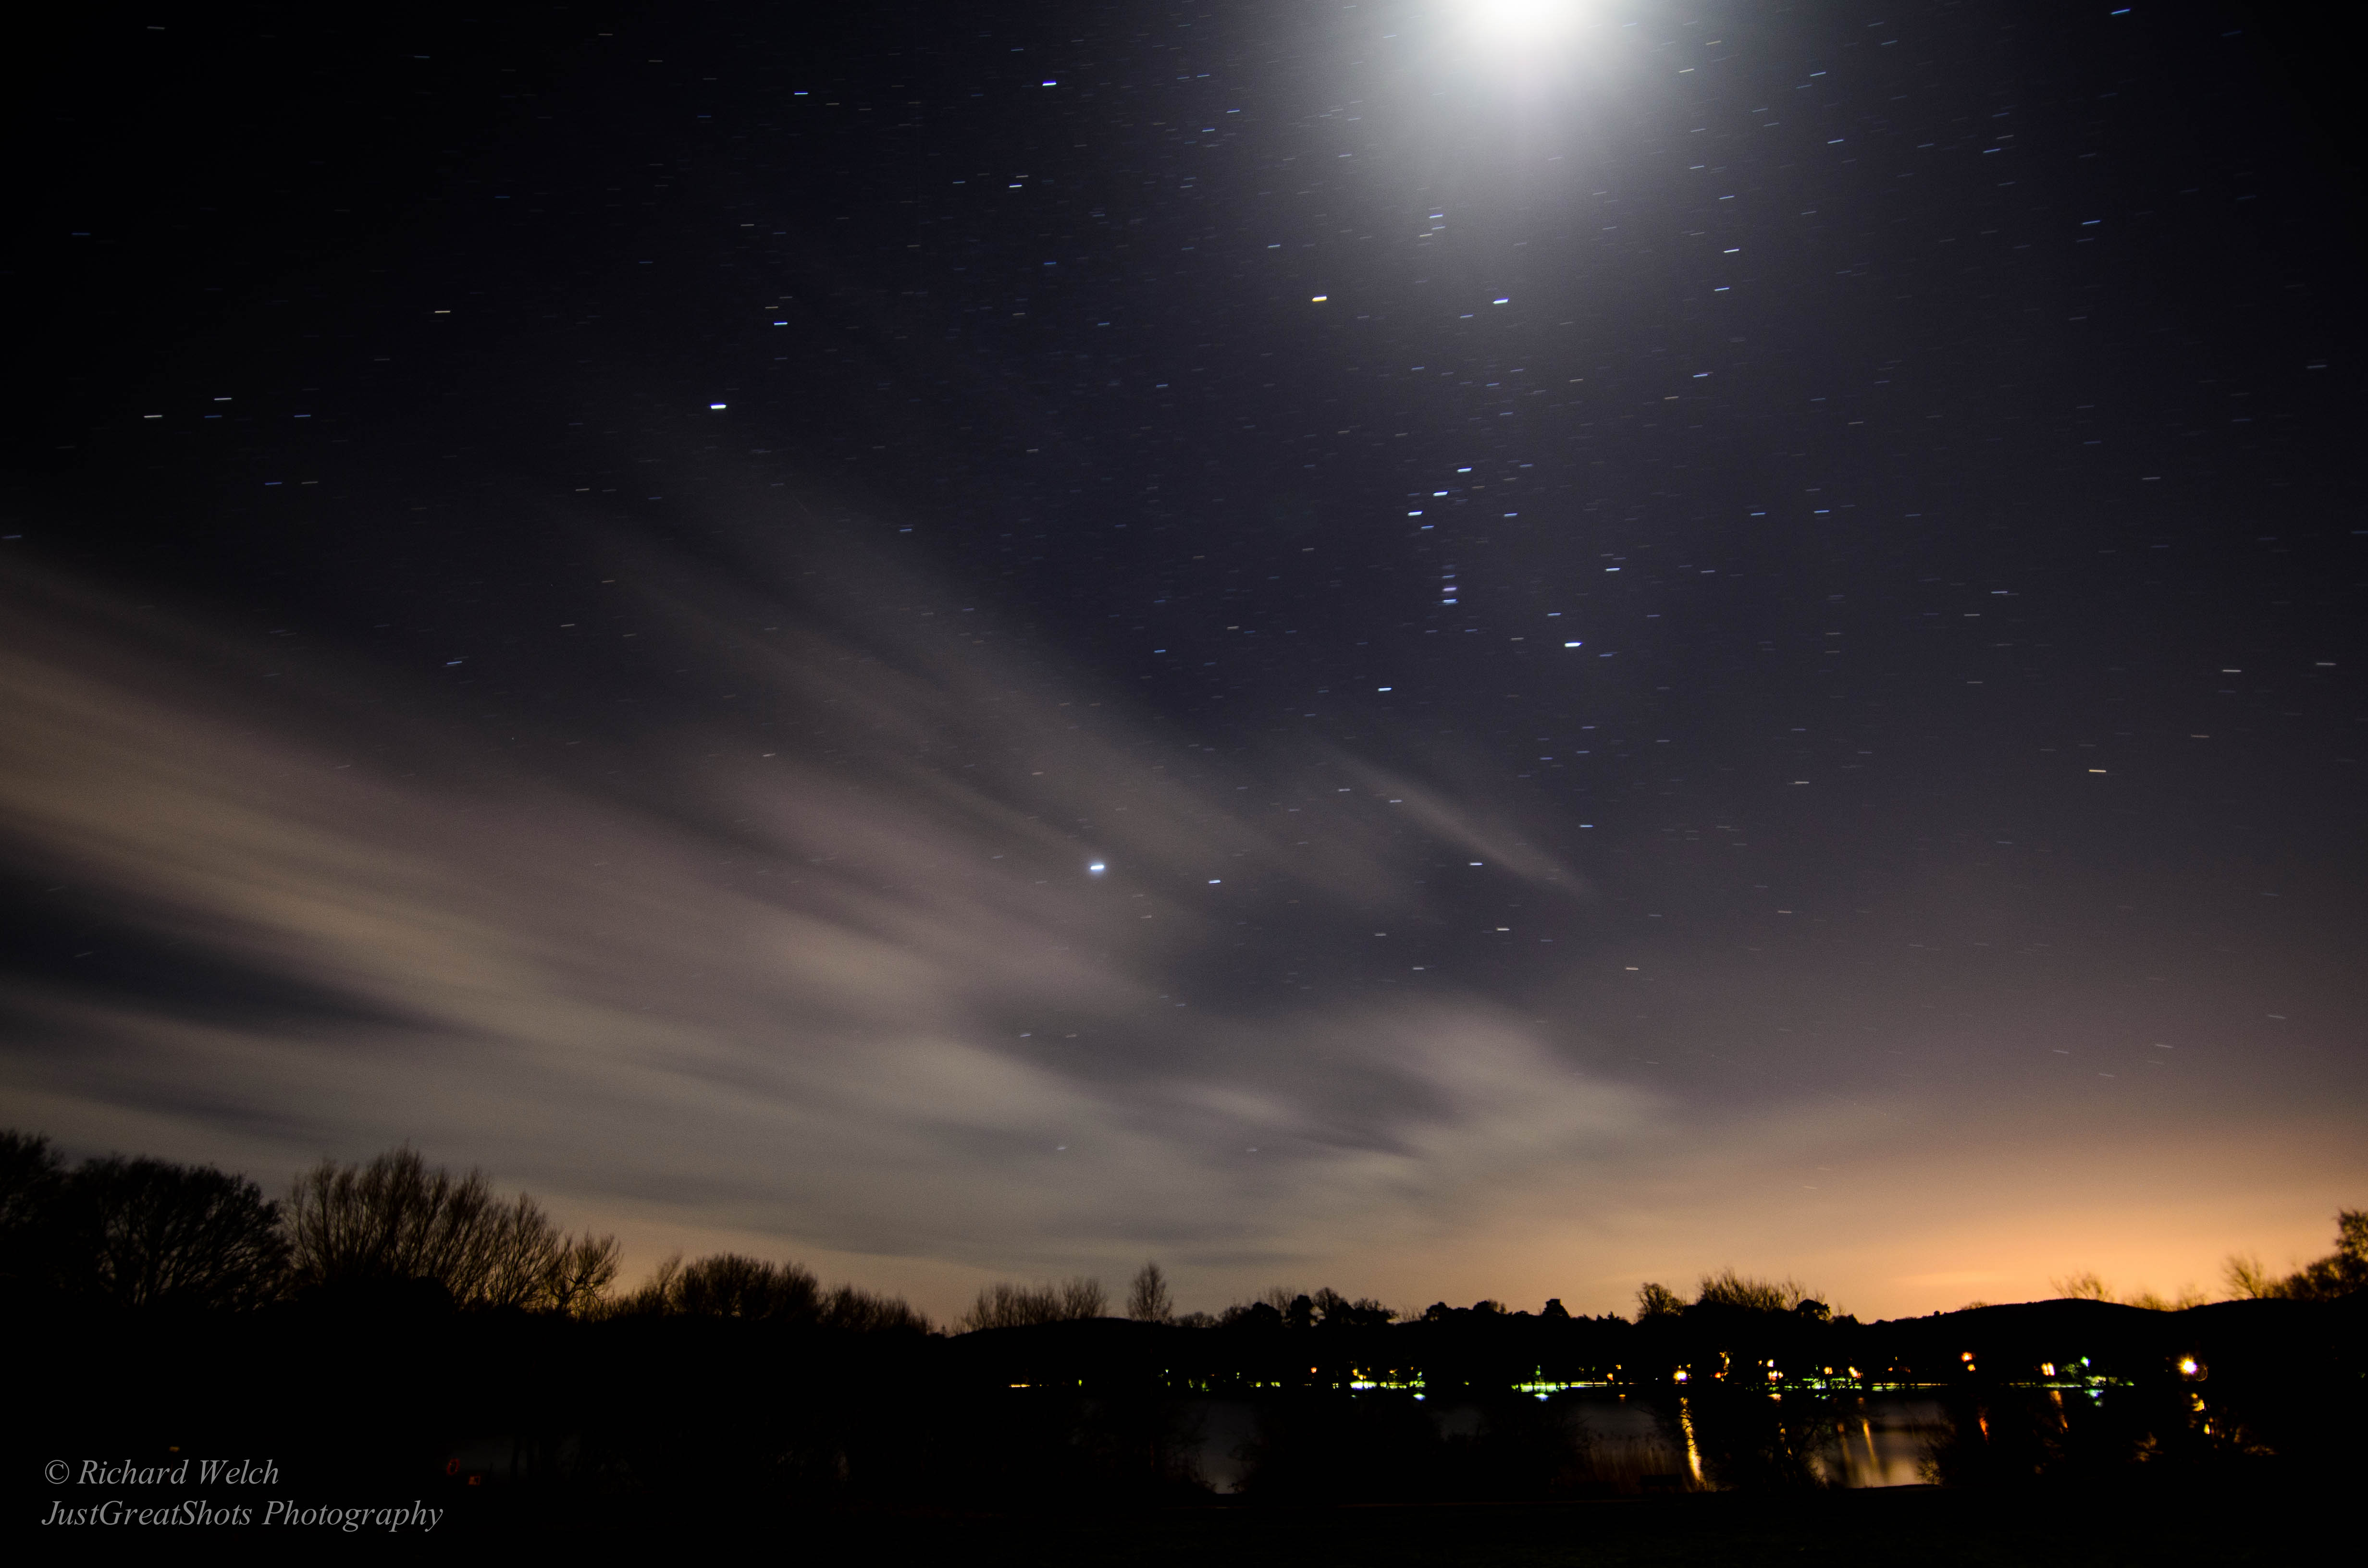
I took the above image with my D7000 setup on a tripod and used my shutter release cable to fire the shot, once again setting my camera to manual and using bulb the shot was taken using my iPhone as a stopwatch.

Camera Settings:

Manual Mode, ISO 100, 121sec, F4 at 12mm

Adding Background Movement

So adding background movement in a photograph is all about getting your panning right along with your camera set up, so what is panning I ask myself.

Panning is having the ability to move your upper body but keeping your feet still and your camera on target to the subject you wish to photograph, whilst keeping the subject in focus but adding blurred motion to the background.

Bad Panning movement
Panning not quite in time with the subject

As you can see in the image above, the panning in this shot isn’t up to time with the movement of bike and background, blurred foreground and background was caused by me moving the camera to fast

Good Panning
Panning timing nearly right

Ok, so with practice and keeping my camera settings set the same as before, I practice slowing down my panning movement to allow the camera to focus on capturing the motorbike, whilst adding just enough movement to the background and therefore providing action to the above photography

Camera Setting:

Aperture Priority, ISO 200, 1/160sec, F11, and 185mm

Wildlife Photography

A Wildlife Photography is a very popular style, with bird watcher’s spending crazy money on lenses.

Taking photos of wildlife will test every little photography skill you learn as wildlife never stays still for long, so setting up your camera and using the correct settings is a must.

I’m still trying to get the hang of it, however, it’s great fun to try and can be really rewarding when you end up with an image that shows all the detail you where hoping for.

Trying to photography a swan in poor light
Wild Life Photography, Swan in poor light

The image of the swan above was taken with my Nikon D7000 set to Manual Mode which meant I needed to continuously adjust both speed and Aperture, which ended up not being the best option to use on this occasion as the light kept changing due to it being an overcast day.

Aperture Priority option on my camera may have been a better option due to the light, or using Shutter Priority may have been better due to the swan moving through the water. But this is the fun of Photography with every shot you take you learn a little more.

Camera set up:

Freehand shot, with the camera set to Manual Mode.

Using ND Filters for the first time

So here goes, my first time trying out ND filters after purchasing a Cokin P series ND filter kit from Amazon. ND filters are designed to help cut out light and therefore allowing you to set lower camera speeds in daylight etc.

Remember I’m still new to all of this, so may not have set up my camera in the same way others do it. But this site is about helping myself and others to learn Free of Cost how to get that better shot out of using their DSLR cameras.

How I set my camera up, using a tripod to steady the camera and set my Nikon D7000 to Manual (NOT USING AUTO) I fitted the Cokin P series ND filter to a Nikkor 12-24mm Lens, I composed the shot using the rule of thirds.

Using a shutter release cable, I set the camera to BULB. Setting your camera to Bulb allows you to manage and control how long the shutter remains open manually and therefore increasing exposure time above 30sec

Using ND filters
Using ND filters

The photo was taken using an ND4 filter for 24sec on f/20, as you can see this has made the water look like glass but setting my camera to f22 didn’t give me the depth of field I would have liked, but depth of field is a whole new skill you will also need to master lol!!!!

Playing with Long Exposure

Long Exposure photography so what is it? well, everything I’ve read so far points Long Exposure photography being anything that requires and tripod, as the shutter speed time is too long to take a photo holding the camera by hand without taking a totally blurred and out of focus photograph. The photo can also show a lot of movement in items such as clouds and light.

To take such a photograph as the one below, you have two camera setting options you can use. Option 1 M (manual) Option 2 S (Shutter Priority) both settings allow you to control the shutter speed and therefore increasing the time taken to capture the image,

Photograph of Halo Moon
Trying to photograph a halo moon

I’m still learning and at this moment in time, I like using Bulb and a stopwatch to set the time taken to capture the photo.

Camera set up, using a tripod to steady the camera I set my Nikon D7000 to Manual and switched autofocus also over to manual. I composed and focused my shot and used my shutter release cable I took the shot.

ISO set to 100 to allow in the lighting required, F/Stop set to f4 as wasn’t 100% sure which f/stop would be best, I took the shot and allowed 120sec before closing the shutter release.